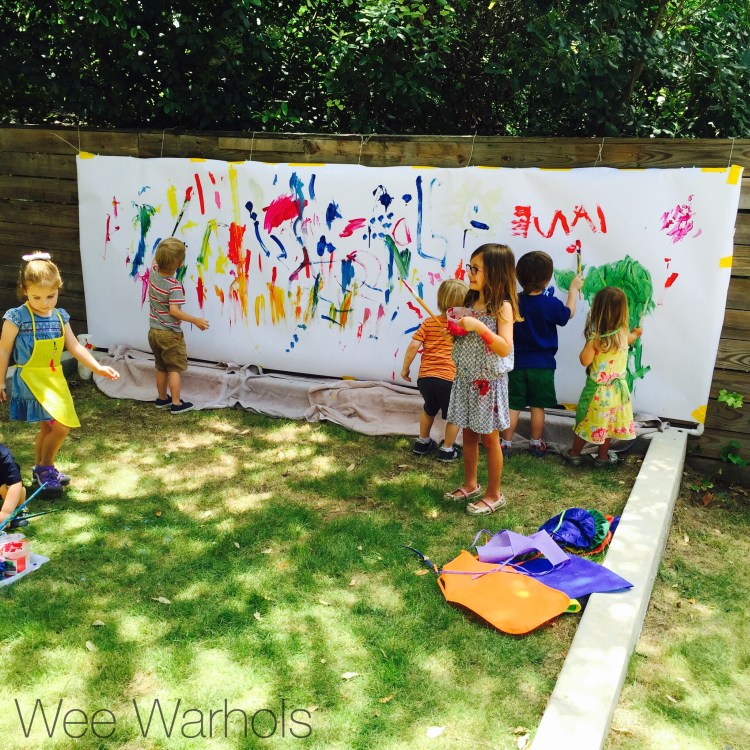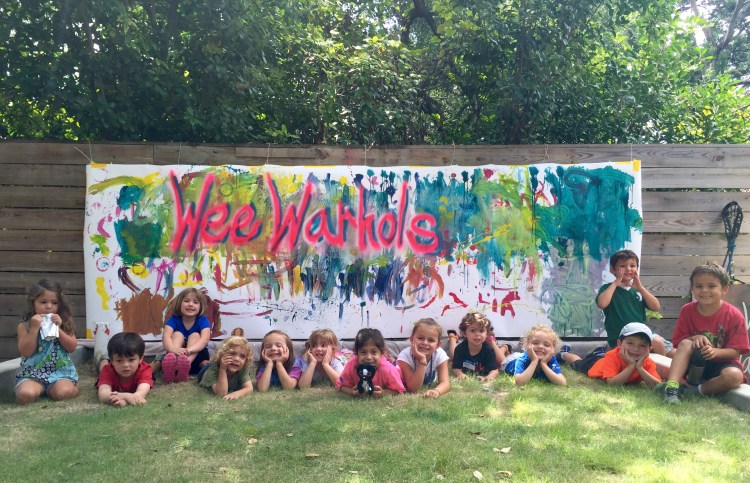
This summer I created a mesh and PVC frame on our fence, for the Wee Warhols to engineer a large water wall on. It was a great success! I was worried that the kids would argue when building it, but they worked together amazingly. It helped that I had everything ready to go for them at build time.

It was a lot of work for me to build the frame. I was going to take it down after our water day, since I had an art party at the house the next day, but I decided to take down the attached pieces and turn it into a huge canvas for the birthday goers to paint a mural on.

A friend of mine, Bar suggested I leave it up and make a large bubble wrap print making wall. Brilliant! I wanted to drag out the life of this thing for as long as I could, before my husband made me take it down for being an eye sore. Plus, I had been inspired by a bubble wrapped tree image that I saw of Bar’s on Instagram and really wanted to try that. Check out Bar’s bubble wrap tree post here or see more bubble inspiration here: Art Bar’s Bubble Wrap Posts .
The Wee Warhols in print making action!

I hung a variety of sized bubble wrap for the kids to paint. Yes, I save EVERYTHING! We used tempera paint, then made prints using thick paper. I would have used acrylic paint, if I knew that we were going to repurpose the painted bubble wrap to make more art, but I didn’t think that far out. Remember when I said that I save or reuse EVERYTHING?
Reusing the painted bubble wrap to make more art.
The next day I cut up a large drop cloth we funnel painted on that week, to use as the starter canvas for our bubble collages.
I got the drop cloth canvas idea from Mer Cherry . (Good thing I am surrounded by creative art teacher friends.) Canvas Inspiration
The kids cut sections of the bubble wrap and glued them onto the painted drop cloth canvases. Like I mentioned, they flaked a bit, but still looked cool with lots of fun textures and colors. All of these art making experiences were layered with wonderfully fun action / process art.


